Tutorial
Premium Page Formatting
In order for the premium pages to display properly certain html needs to be added. This is a very simple process and easy to implement.
Of course when you create a premium page you need to click on “Pages” in the admin section and then choose “Add New”.
Give your page a title suc as “The Phoenix Country Club” and on the right hand side where it says template, make sure you choose “Premium Page (No Sidebars)” and at the very bottom of the page you will see this “Include Page in Site Navigation”, make sure this is unchecked (if not it will display in the upper nav area).
Once this is done, add your content the way you would normally, you can even add images if you want, but do not add a gellery or contact form just yet, this will come later once you are done with the main content portion.
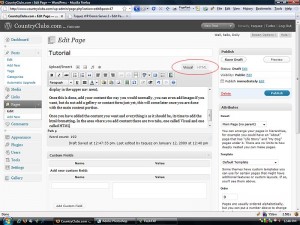
Once you have added the content you want and everything is as it should be, its time to add the html formatting. In the area where you add content there are two tabs, one called Visual and one called HTML (if you are not sure where this is located click on the image below)
This is of course the way you add extra html formatting to any post or page you are creating. Open up the “premiumpagecode.doc” file and copy the information at the top. Once that is done paste what you just copied at the very top, above the content you added. Once you have done that and added all the information, scroll all the way to the bottom and add the following:
</div>


